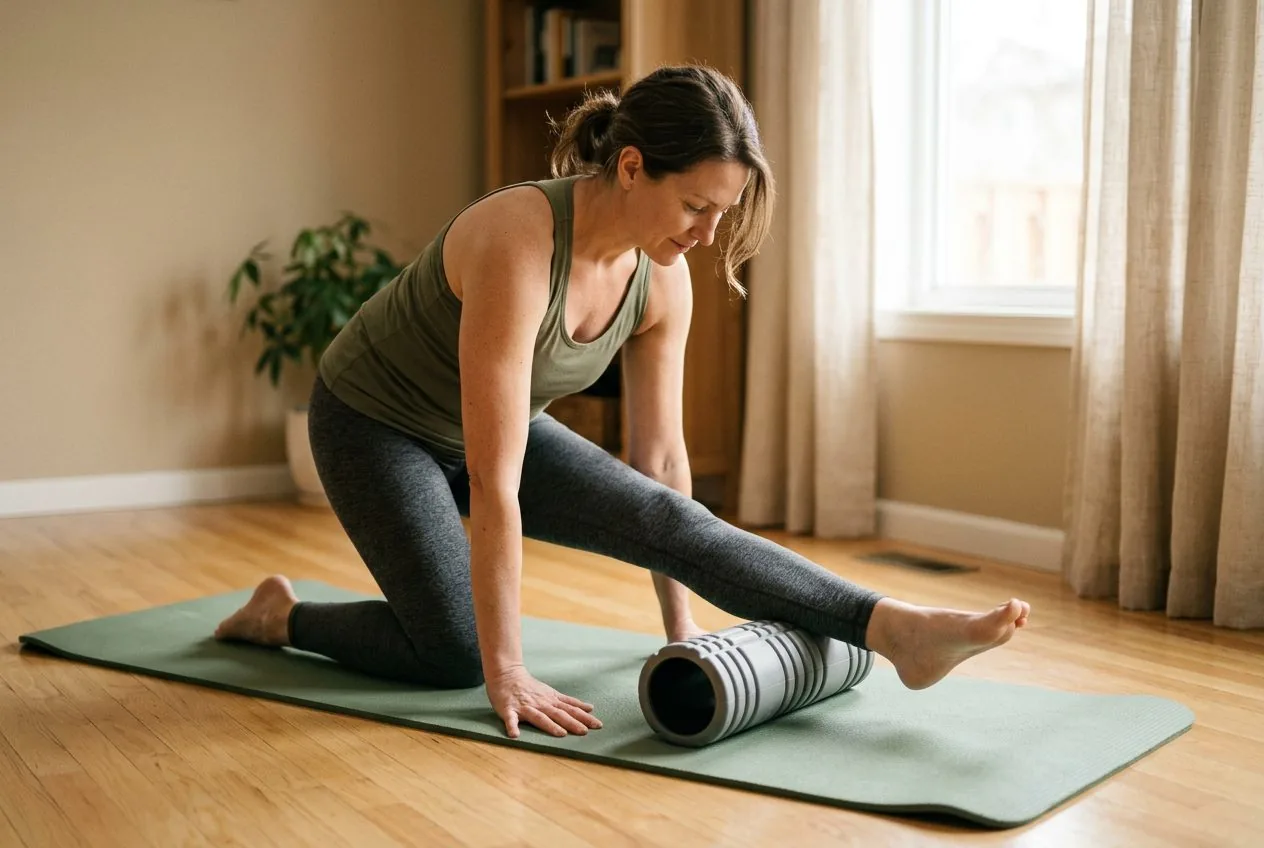
A foam roller looks like the least exciting piece of equipment in the shop, a plain tube of firm foam, and yet it is one of the simplest ways to help stiff muscles feel looser after 40. Lie or sit with a tight muscle draped over it, let your body weight press gently in, and roll slowly, and that spread-out pressure tends to leave the muscle feeling more comfortable and ready to move (Frontiers in Physiology). You do not need to grind hard, hunt for pain, or spend half an hour on it. In fact, slow and gentle is the entire point, and rushing or bearing down is how people give a lovely tool a bad reputation.
The method, in one line: drape a tight muscle over the roller, use your body weight for comfortable pressure, and roll slowly along its length for a minute or two, keeping off every joint and your lower back. Do that a few times a week and the roller becomes a calm, joint-friendly way to feel looser and move more easily.
This article is for information only and is not medical advice. Talk to your healthcare provider before starting a new exercise routine, especially if you have joint injuries, osteoporosis, circulation conditions, or any recent injury.
First, choose a gentle roller
The most common early mistake is buying a hard, knobbly roller and then wondering why rolling feels like a punishment. For a midlife body, softer is friendlier (Cleveland Clinic).
- For a true beginner: start with a smooth, medium-density roller. It gives enough pressure to help without feeling like a rolling pin on a bruise.
- To progress: only if you want more, a firmer or lightly textured roller adds intensity later, but most people never need it.
If you are new to rolling, begin softer than you think and let the muscle get used to the feeling. There is no prize for the hardest roller, and gentle, comfortable pressure does the job far better than something that makes you brace and hold your breath.
The one rule: slow and gentle
Foam rolling punishes force. Bearing down with all your weight or racing back and forth turns a soothing tool into something your body resists, and it is exactly why some people decide rolling is not for them. Done slowly, with comfortable pressure and steady breathing, the same movement feels good and does its quiet work. Move slowly along the muscle, pause with slow breaths on a tight spot rather than grinding it, and keep the roller off your joints, your spine, and your lower back entirely. Save the pressure for the soft muscle, never the hard structures.
The gentle sequence (7 moves)
Here is a simple, joint-friendly sequence you can build into a 10 to 15 minute session, working from the lower body up. Move slowly, breathe, and ease off anything that feels sharp. Spend around a minute on each area, less if it is tender, and use your hands and feet to control how much weight goes into the roller.
- Calf roll. Sit with the roller under one calf, lift your hips slightly with your hands, and roll slowly from above the ankle to below the knee. Stay off the back of the knee, and breathe through any tender spot.
- Hamstring roll. Sit with the roller under the back of one thigh, hands behind you, and roll slowly between your sitting bones and just above the back of the knee. Turn the leg gently to cover the whole muscle.
- Quad roll. Lie face down with the roller under the front of your thighs, forearms down. Roll slowly from above the knees to the top of the thighs, core gently braced so your back stays comfortable. Stay off the kneecap (Cleveland Clinic).
- Outer-thigh and hip roll. Lie on your side, propped on a forearm, roller under the fleshy outer hip and upper thigh. Roll a short, slow range, easing off if it feels sharp. This area is often tender, so keep it gentle and brief (Cleveland Clinic).
- Glute roll. Sit on the roller, cross one ankle over the opposite knee, and lean toward the crossed side to find that buttock. Roll small, slow circles over the soft tissue, then switch sides. Keep off the tailbone.
- Upper-back roll. Lie with the roller across your upper back, knees bent, hands supporting your head. Lift your hips slightly and roll slowly along the upper and mid back only, never the lower back. Let your chest open gently.
- Lat roll. Lie on your side, top arm overhead, roller tucked under the side of your ribs below the armpit. Roll a small, slow range along the side of your back, then switch sides. This eases an area that stiffens from sitting.
Do the sequence once through as a gentle session. As you get comfortable, you can spend a little longer on the areas that need it most. A few times a week, kept slow and light, is plenty.
A gentle weekly rhythm
You do not need a rigid schedule, just enough structure that the rolling actually happens and pairs well with your movement. Here is a simple rhythm that fits around an ordinary week.
| Day | Session | Time |
|---|---|---|
| Monday | Full roller sequence (the seven moves) | 10-15 min |
| Tuesday | Easy walk, then a quick calf and hamstring roll | 20-30 min |
| Wednesday | Rest or gentle stretching | As needed |
| Thursday | Full roller sequence (the seven moves) | 10-15 min |
| Friday | Easy walk | 20-30 min |
| Saturday | Upper-back and glute roll only | 5 min |
| Sunday | Rest | Rest is part of the plan |
Pairing rolling with regular walking is deliberate. Walking keeps your muscles moving through their range, while a few gentle minutes on the roller helps them feel looser going in and settled afterward. Recovery and gentle mobility work quietly support each other, so keep the rolling light and let it complement your movement rather than replace it.
Common mistakes to sidestep
Rolling too hard. Bearing down with all your weight makes you brace and hold your breath, which is the opposite of release. Use your hands and feet to take some weight off, and keep the pressure firm but comfortable.
Rolling your lower back. The lower back is not made to be rolled over a hard tube. Keep the roller on the upper and mid back only, and work tight hips and glutes instead to ease that area indirectly.
Going too fast. Racing back and forth does little. Slow, deliberate rolling with pauses on tight spots is where the good feeling comes from.
Grinding a joint or bone. The roller is for muscle. Keep it off the knees, the spine, the tailbone, and the hip bones, and stay on the soft tissue around them.
Grab the printable sequence
If you would like this sequence as a simple one-page checklist to keep by your mat, join our newsletter and we will send you our gentle-strength starter guide, plus honest reviews and protein-first recipes, with no shame and no miracle promises. It is the easiest way to remember the order and the form cues while the moves are still new.
When it helps to add a targeted tool
A foam roller handles broad, whole-muscle work beautifully. What it does not do is pinpoint one stubborn knot, or reach a spot easily when getting onto the floor is hard on your joints. If either of those is your sticking point, a small percussion tool can complement your roller nicely. Our foam roller vs massage gun comparison lays out which tool fits which person, and our massage gun guide for recovery after 40 covers what to look for if you decide to add one. As always, keep expectations grounded and check with your provider before starting anything new.
The gear you actually need
Very little. A smooth, medium-density foam roller and a bit of floor space is the whole kit. A mat under you makes the floor kinder to knees and elbows. That is all. If you want to build gentle strength alongside your mobility work, our gentle strength section has joint-friendly routines that pair naturally with a few minutes on the roller.
The honest bottom line
A foam roller will not transform your mobility on its own, and no honest guide should pretend otherwise. What consistent, gentle rolling genuinely tends to support is muscles that feel looser, less everyday stiffness, and movement that feels a little easier, especially when you pair it with regular walking and gentle strength work (HHS). Choose a softer roller, move slowly, keep off every joint and your lower back, and work the sequence a few times a week. Let the gentle, unglamorous habit do the real work, and you will find plenty to build on in our gentle strength section.
Frequently Asked Questions
- How often should I foam roll after 40?
- A few gentle minutes most days, or a fuller session two or three times a week, works well for most people, because mobility responds to regular, light practice rather than occasional long grinds. You can roll for a couple of minutes after a walk, before bed, or as a warm-up before gentle strength work. Keep every session slow and comfortable, and think of it as a little and often habit. Consistency does far more than intensity here, and gentle beats punishing every time.
- Does foam rolling hurt, and is it supposed to?
- It should feel like firm, tolerable pressure with a pleasant sense of release, not sharp or bruising pain. A muscle that is tight may feel tender, and that is normal, but grinding hard into a sore spot or gritting your teeth through it is a mistake. If an area is genuinely painful, ease off the pressure, shorten your range, or skip it entirely. More discomfort is not more benefit, and gentle, breathable pressure is where the good work happens.
- Can foam rolling really improve my mobility?
- Gentle, regular rolling tends to support how loose and mobile your muscles feel and can make movement feel easier in the short term, which can mean less stiffness before a walk or a workout. Be realistic about the limits, though: it is a helpful part of a mobility habit, not a cure for a joint problem, and its effects build alongside actual movement and gentle strength work. Used as one piece of a broader routine, it earns its place; on its own, it is a pleasant loosener rather than a fix.
- Should I foam roll before or after exercise?
- Both can work, and it depends on what you want. Rolling gently before movement can help you feel looser and more ready, so it makes a nice warm-up alongside some easy movement. Rolling after can feel soothing and help you wind down. The one rule either way is to keep it gentle, especially beforehand, so you are easing the muscle rather than working it hard right before you ask it to move. Try both and keep whichever fits your routine and feels best.
Sources & references
Before you go
The 7-Day Protein-First Meal Plan for Women Over 40
A complete protein-first week, finished for you: your personal protein target, a one-page shopping list, 21 recipes at 25-35 g protein each, and a timed 90-minute prep schedule. Printable PDF, paired with a free 7-lesson email course.
Free guide
The 7-Day Protein-First Meal Plan for Women Over 40
A complete protein-first week, finished for you: your personal protein target, a one-page shopping list, 21 recipes at 25-35 g protein each, and a timed 90-minute prep schedule. Printable PDF, paired with a free 7-lesson email course.